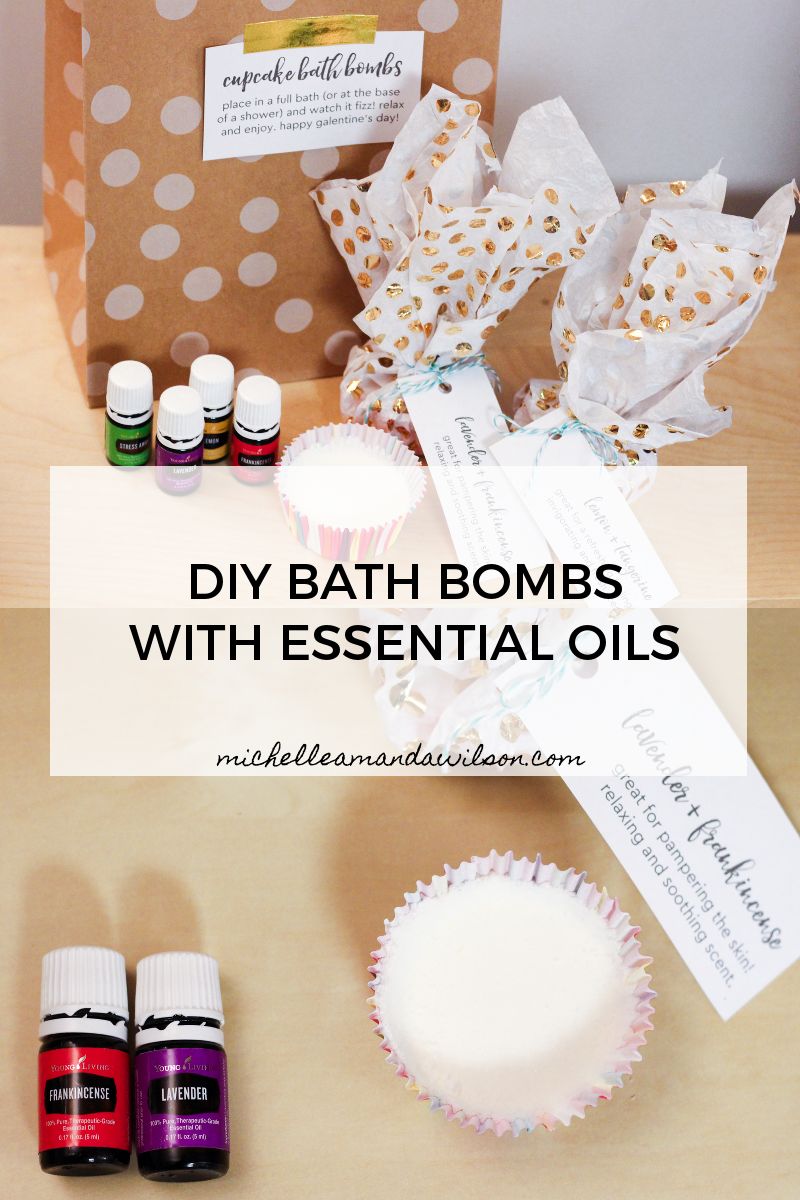
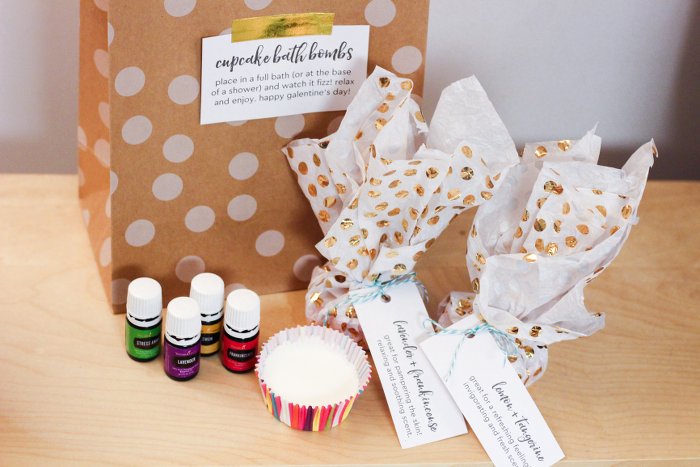
I’m super excited to share this DIY with you all today. These bath bombs smell awesome, and it’s so fun to watch them fizz up in the bath! I made these in muffin tins with cupcake liners, so they look super cute, and you don’t need to buy a bath bomb mold (unitaskers = not good). I made these for Galentine’s day this year, but they would also make a great gift for birthdays and Mother’s Day (or a nice gift for yourself). I also love that these DIY bath bombs are so easy and inexpensive to make – I can’t believe I didn’t make them sooner!
DIY Bath Bombs
(makes 12 medium “cupcakes” or 8 large ones)
- 8 oz baking soda
- 4 oz corn starch
- 4 oz citric acid* (you can find this easiest on amazon)
- 4 oz epsom salt
- 2-3 tsp water
- 10-20 drops essential oils
- 2 tsp oil (I like jojoba oil* best, but coconut, olive, or sweet almond oil would also work!)
Combine the dry ingredients in a large bowl. Stir to remove any lumps. (Be careful because it can get pretty powdery and you don’t want to inhale anything!)
In a small jar, stir together the wet ingredients (water and oil). If you’re only making one scent, add the essential oils now, but if you want to make multiple scents, you can add them later!
Slowly add the wet ingredients to the dry ingredients, stirring as you go. If the mixture starts getting really fizzy, add the liquids more slowly and stir more quickly. To check if you have enough liquid added, squeeze a little bit together in your hands (it should pack easily and stick together). Add a bit more water or oil if the mix doesn’t pack well.
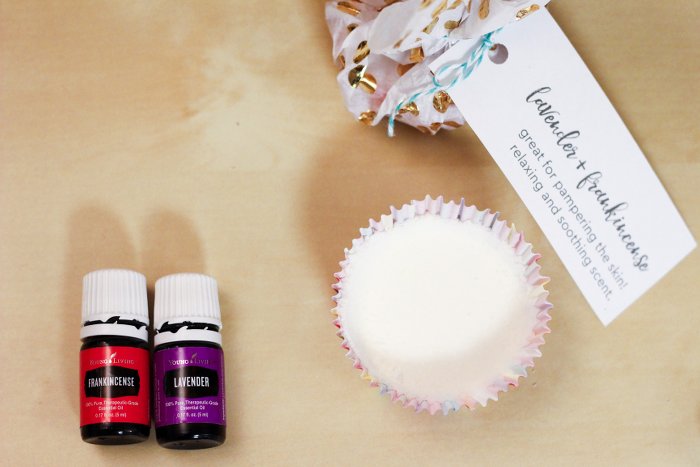
If you want to make multiple scents, divide the mix into separate bowls and add your oils to each one! Some of my favorite oils to add are lavender + frankincense, lemon + tangerine, and stress away. (I only use Young Living essential oils because of their high quality and Seed to Seal guarantee. You can read more here.)
Pack the mix into a standard size muffin tin with cupcake liners. Make sure to really pack it in there tightly! If you have a second muffin tin, you can also press it into the first one (like you’re stacking it up) to pack the mix in even more.
Let your bath bombs dry for around a day before (carefully!) removing them from the muffin tin. Store in a dry place until you’re ready to use them.
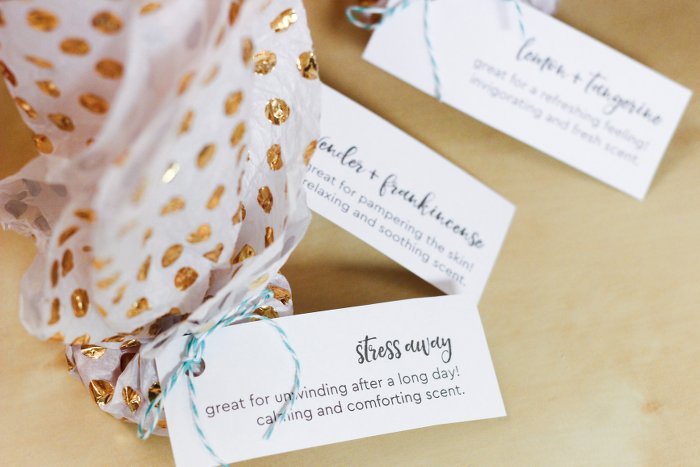
I wrapped these up in some fun tissue paper, packaged a few in each bag, and gave them to all my favorite gals!
I’m including a printable recipe and printable labels, to make it even easier for you all to put together this fun gift! You can also include an instruction sheet with each gift so all your friends can make these cute DIY bath bombs too (it’s the gift that keeps on giving). Just click on the links below to download!
This post contains affiliate links (denoted with an *). If you choose to make a purchase through the link, I will make a small commission at no extra cost to you. Thanks for supporting me and this blog!