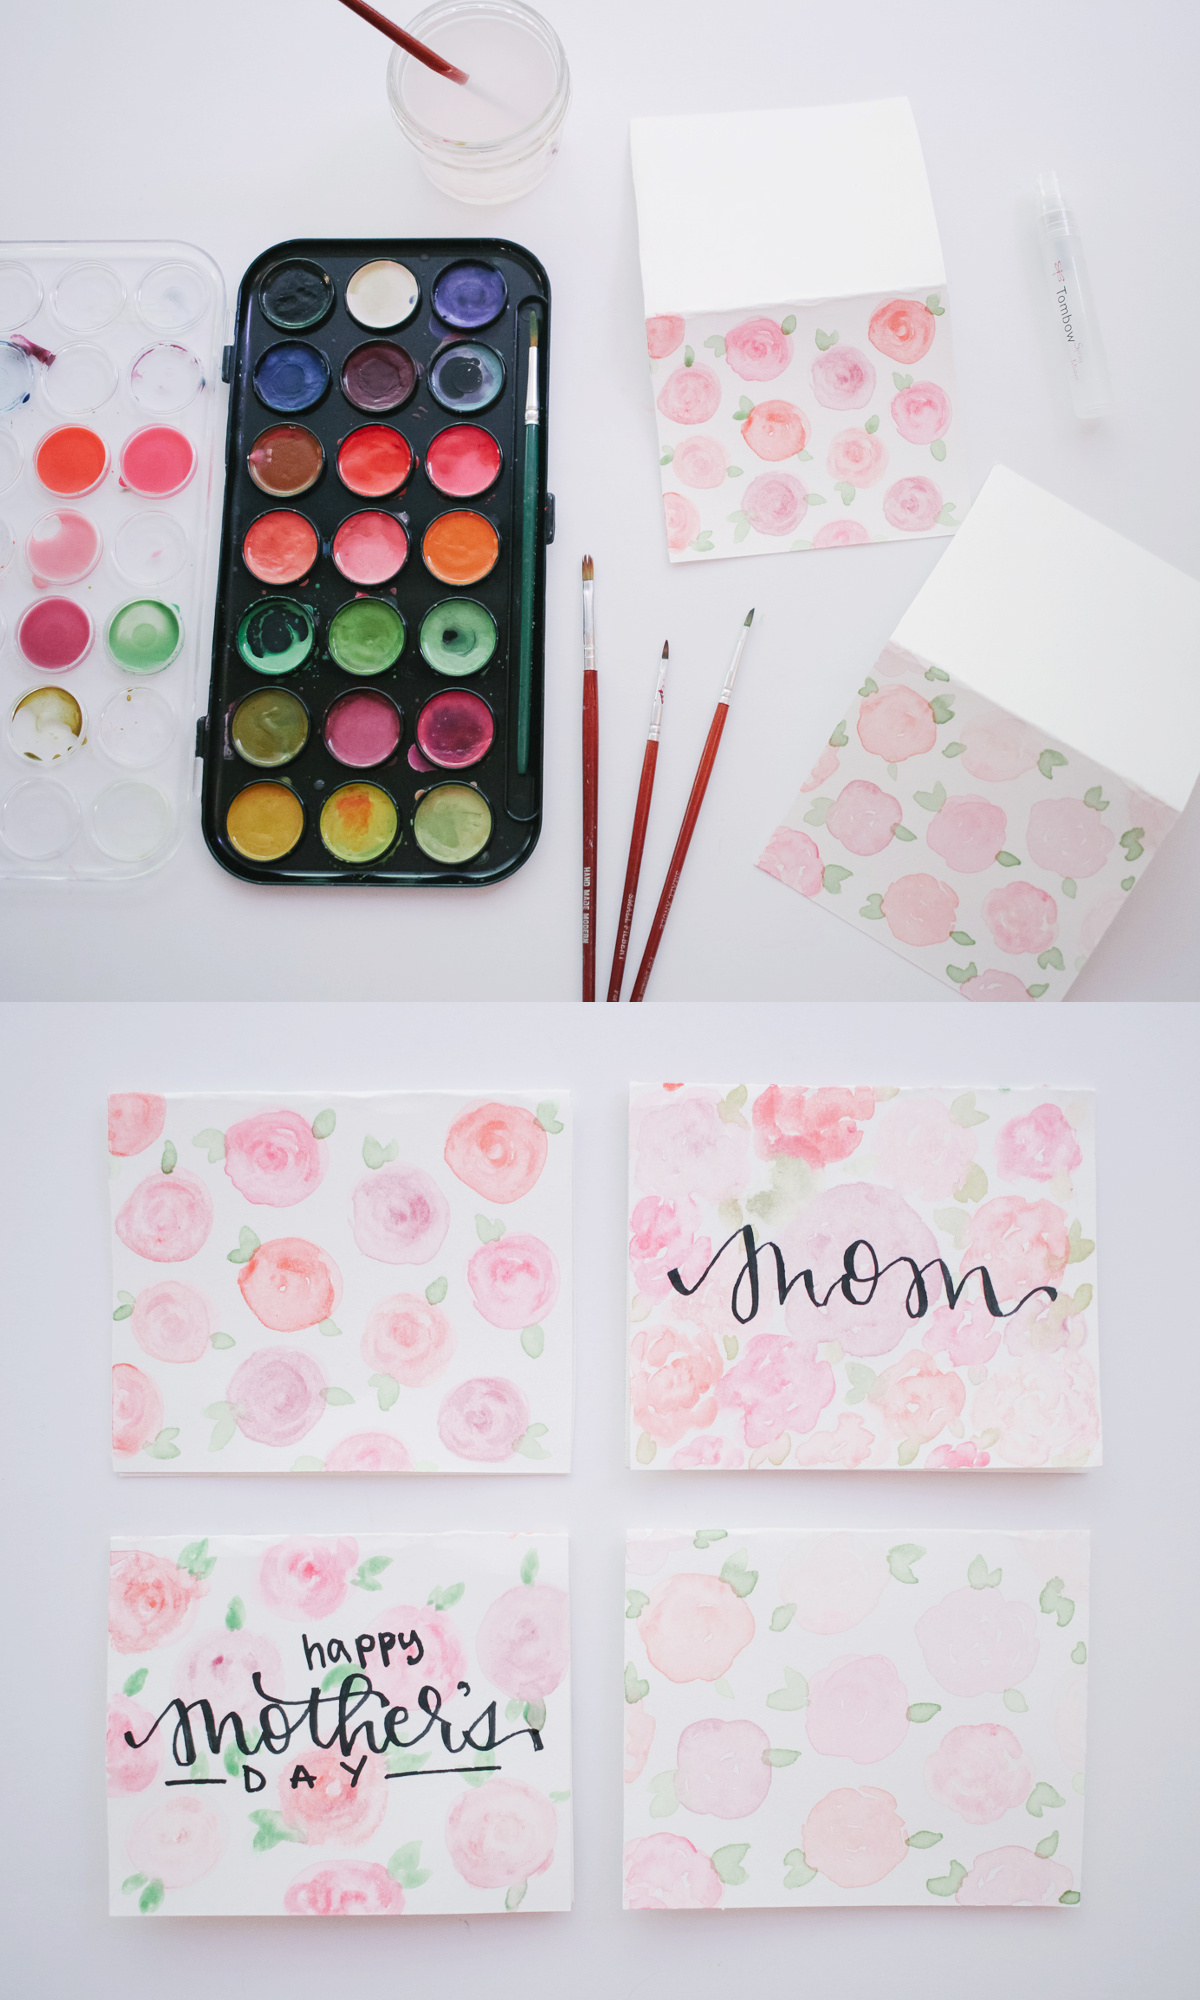
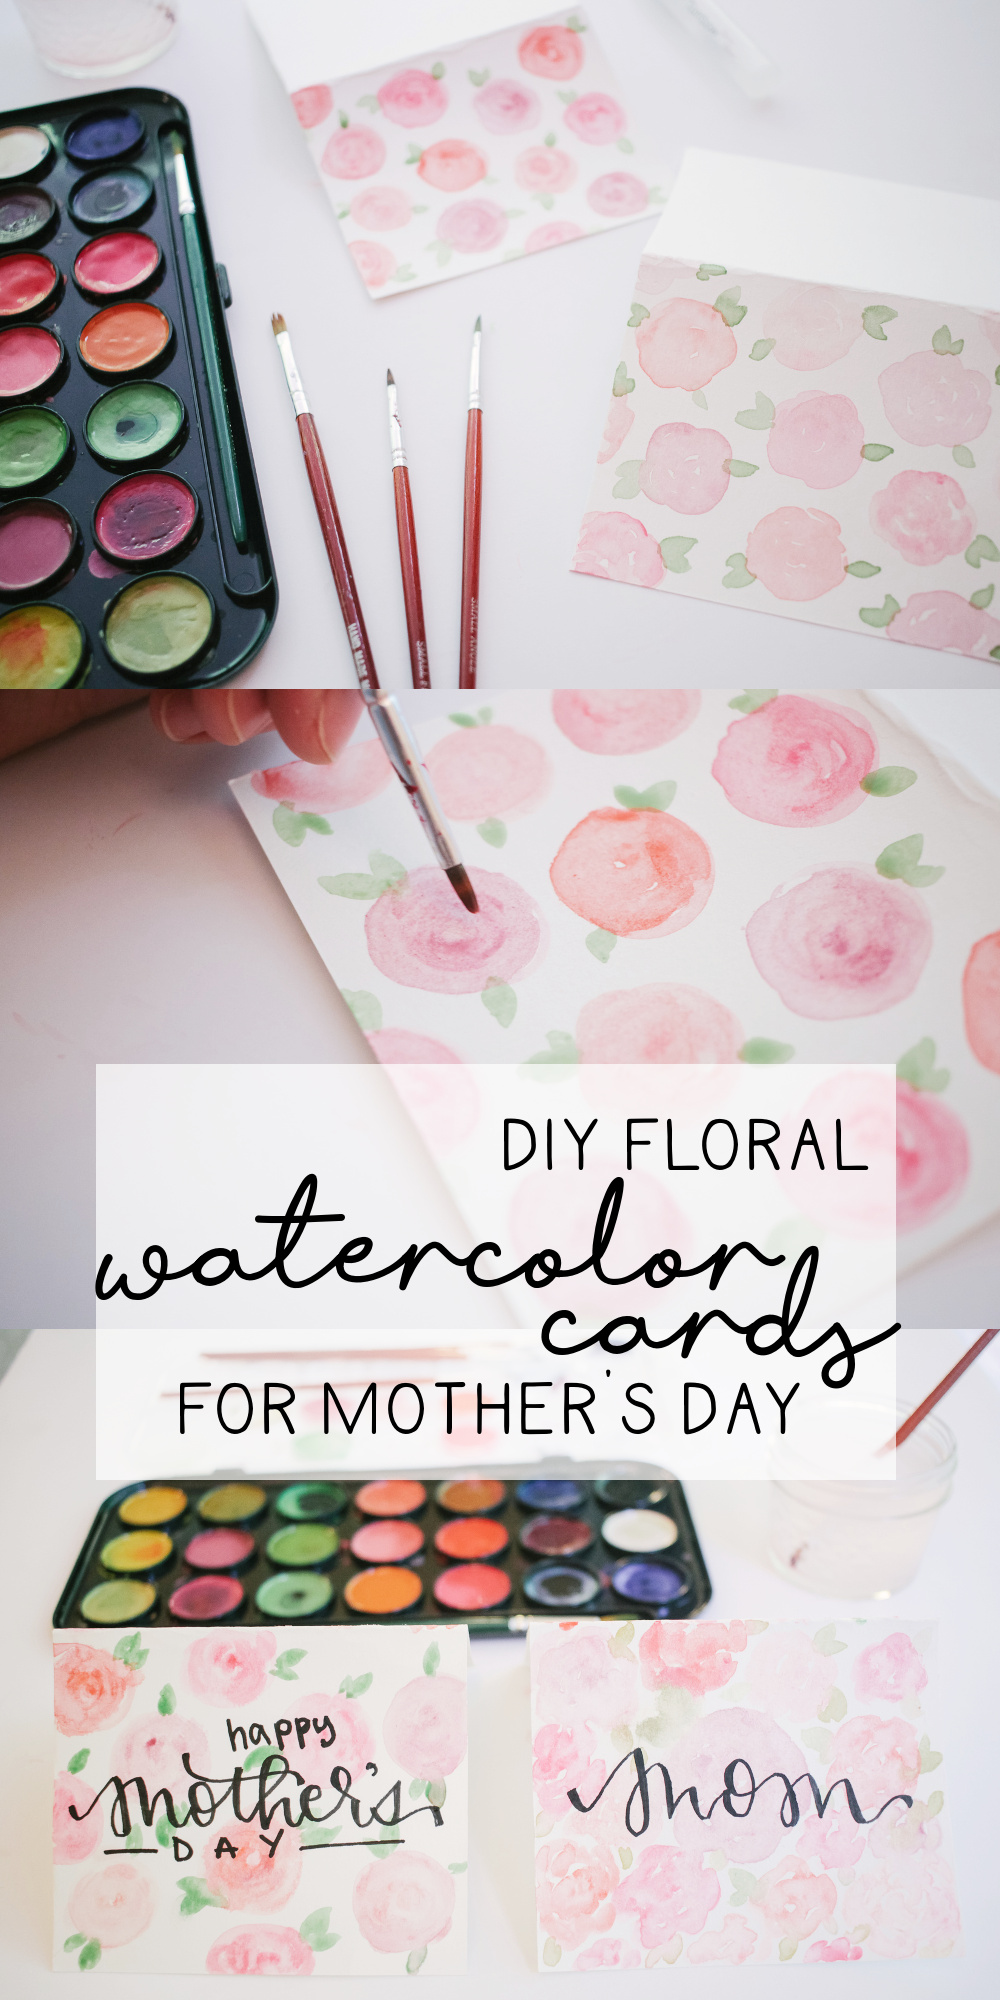
I love making cards, and I always try to make my own cards rather than buy them. I think hand-making a card not only makes it feel more personalized and special, but it’s also a great way to save a bit of money! One of my go-to methods for making cards is with watercolor. I think that watercolor can be quite forgiving, as long as you know some of the basics. Today, I’m sharing how I made these pretty (and beginner-friendly) cards, including two easy ways to make watercolor flowers! A DIY watercolor card would be perfect for Mother’s Day.
psst: if you love the card but don’t want to DIY, purchase a digital version in my Etsy shop here!
Note: This post is pretty photo-heavy – there’s just too much prettiness to share! Also, some of the product links found in this post are affiliate. If you make a purchase through an affiliate link, I’ll receive a small commission at no extra cost to you. You can read my full disclosure here!
Supplies
First, I’m going to break down the supplies that I used. If you already have watercolor supplies, feel free to skip ahead to the instructions below! Note: you do NOT have to spend a lot of money on these supplies! I bought most of my watercolor supplies from Target, and I’ve been able to learn without investing too much money!
- Watercolor Set: I made this card with a very basic set (like this one). It has served me well, but I recently upgraded to one like this – it’s a higher quality set and is more portable (and the price is hard to beat). It comes in a few different sizes, so you can get more or fewer colors depending on your preference.
- Watercolor Paper: I’ve used this brand before and I really like it; I have the smaller sized book, but this one will make two 5″ x 7″ cards per page. This book is a little smaller and under $8 (it will make two 4.5″ x 6″ cards per page, which I think is a really nice size!). Any watercolor paper will do; just don’t try to use regular paper, cardstock, or construction paper!
- Watercolor Brushes: I have this set. I also love water brushes like these; they’re portable, user-friendly, and eliminate the hassle of needing water cups!

DIY Watercolor Card: Instructions
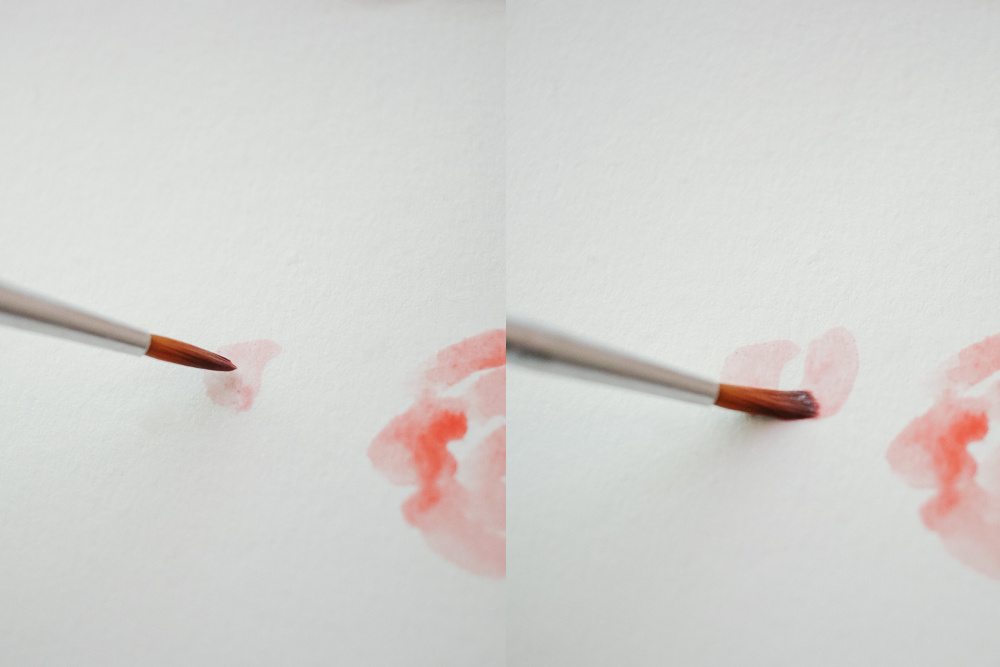
How to Paint Flowers: C Method
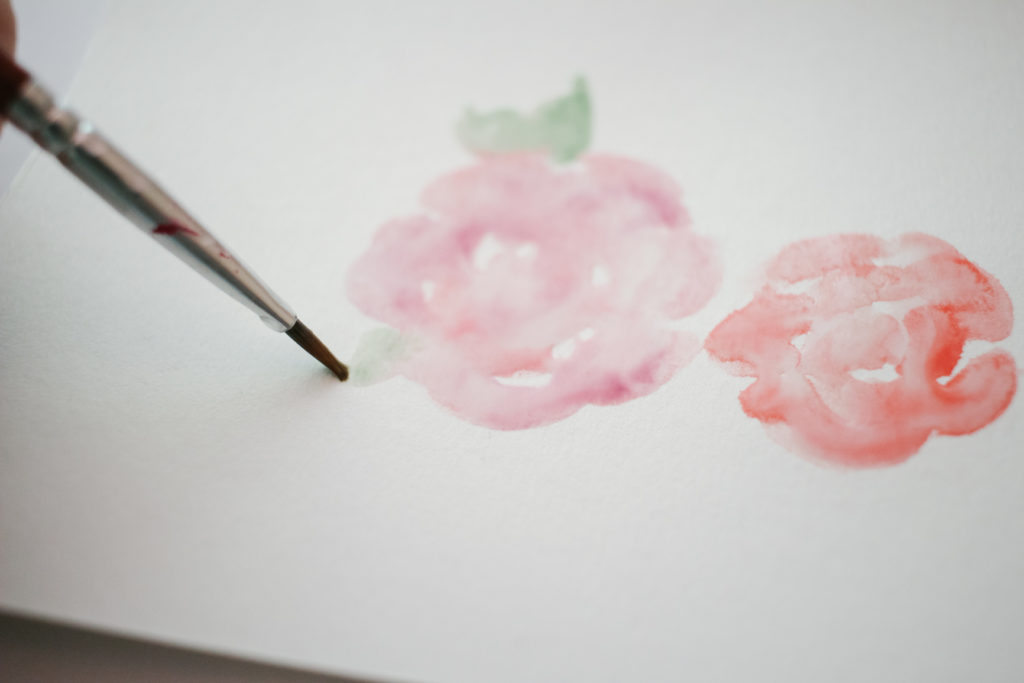
For the first card, I used what I like to call the “C” method for flowers. It’s really simple! You start in the center of the flower and paint larger and larger “C”s around the center until it looks how to you want. I’ve included a step-by-step process below.
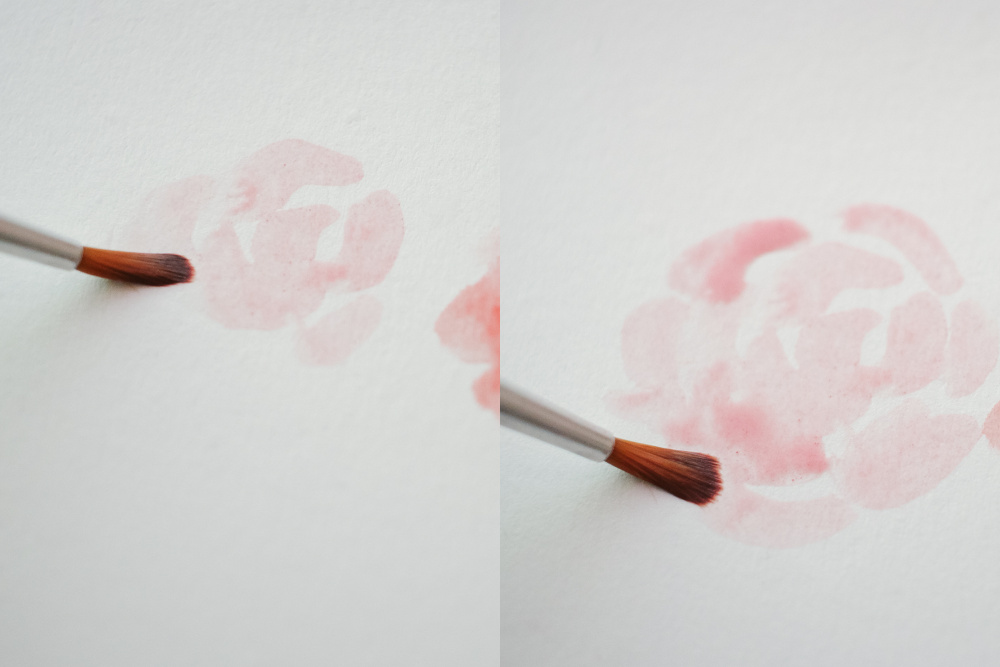
After I have the flower the size and shape that I want, I go in with a darker or accent color to add a bit more dimension. I may also blend the flower a bit with a wet brush (no color). This can give the flower a more finished look.
Finally, add a few leaves, and you’re all set! The best way to master this technique is to practice! You’ll get the hang of it after trying a few.
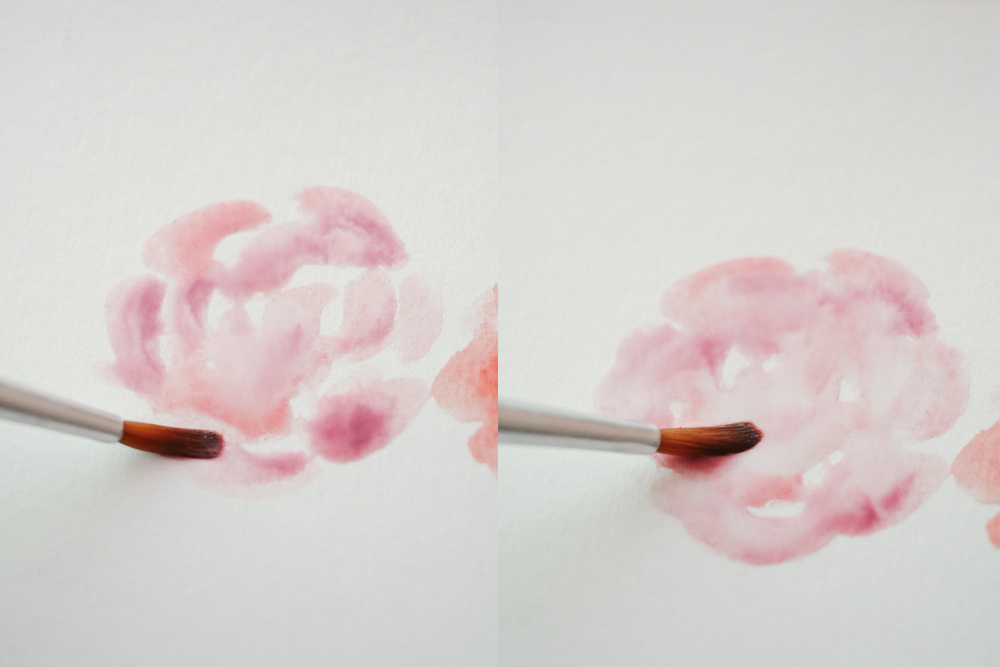
How to Paint Flowers: Circle Method
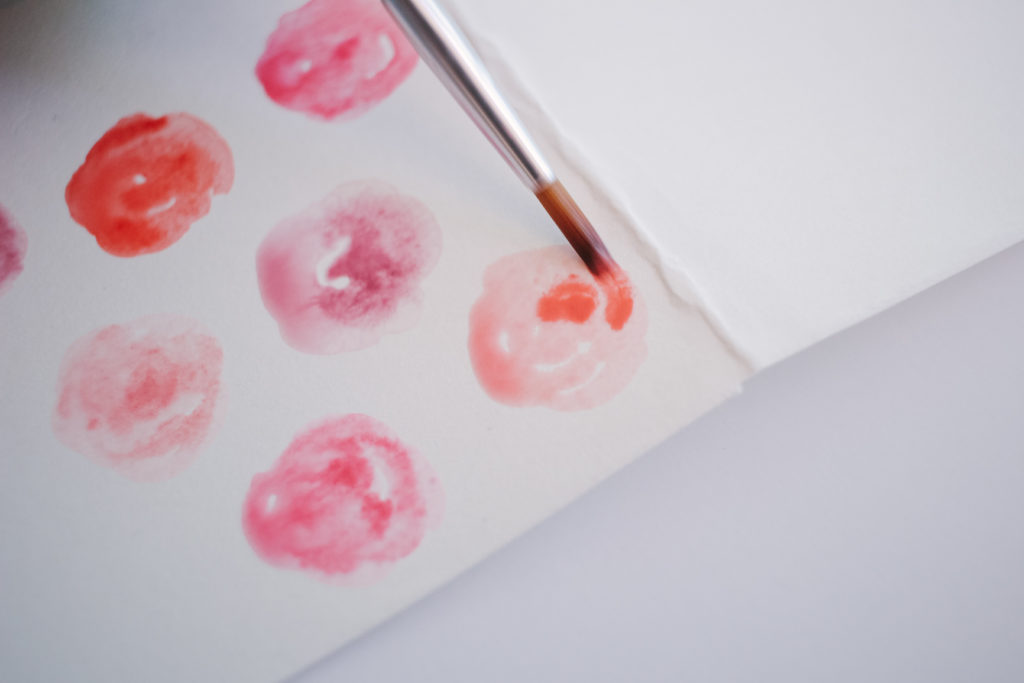
For the next card, I used the “circle method“. (Note: I have no idea if there are actual names for these methods?) For this, you’ll start by painting a flower using “C”s, just like is shown above. You can make these fairly messy, since you’ll go back and blend in later. The most important thing is to get some good color variation/contrast within the flower.
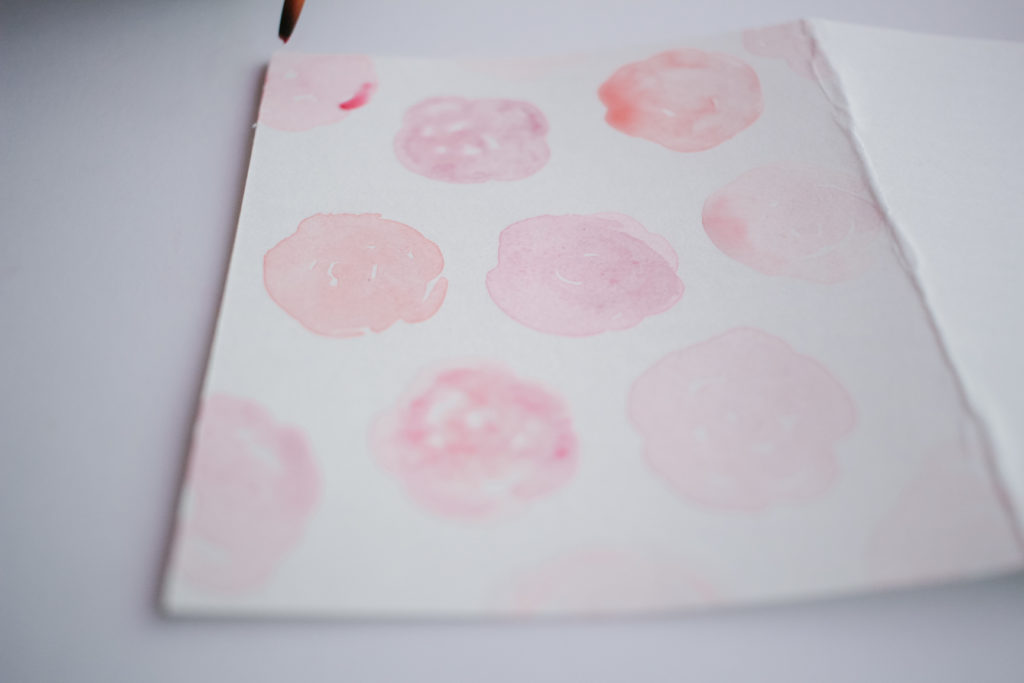
After all the paint dries, go back in with a wet brush and swirl in a spiral to blend everything into a more circular shape.
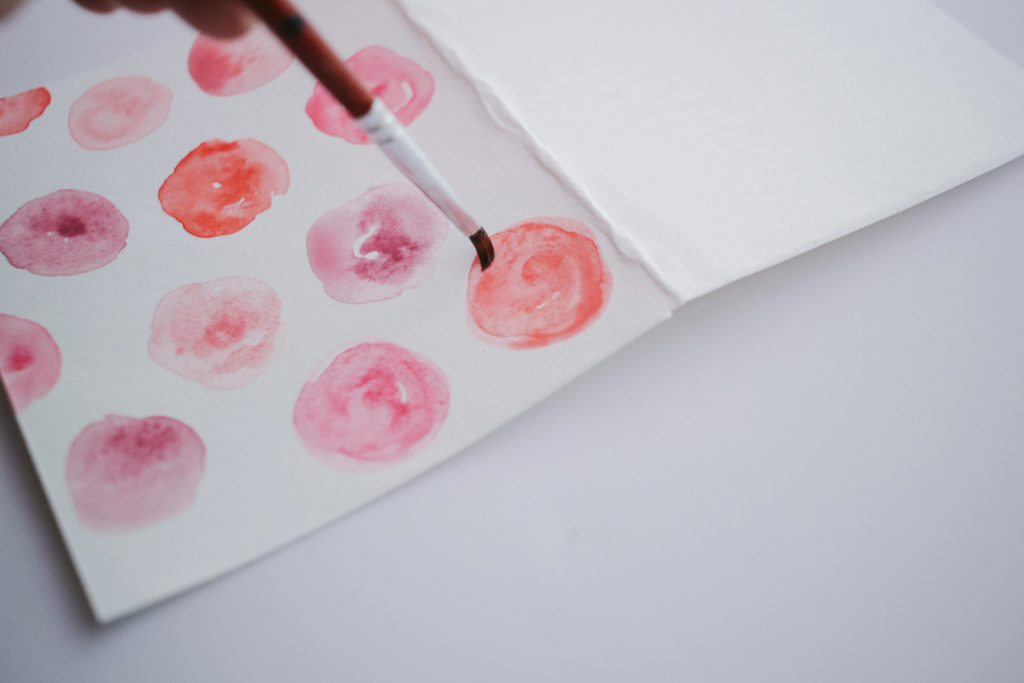
If you want to add more dimension after the paint dries, go back in with a barely damp brush dipped in color and paint in the shape of a spiral. Add some leaves, and you’re all done!
DIY Watercolor Card
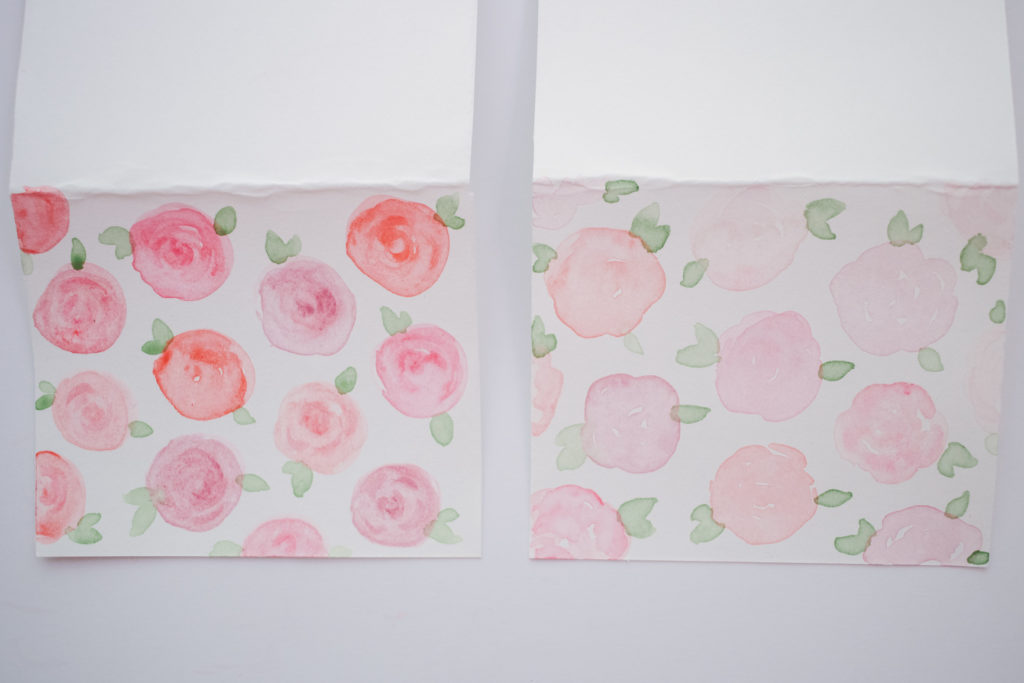
For both cards, I started by picking out my color scheme. I chose to go with pinks, since I wanted the cards to look feminine, and I think pink and green makes a great color combo for spring!
Next, I painted somewhat equally sized and evenly spaced flowers all over the card, leaving a bit of white space between flowers.
I added leaves last, placing them strategically to maintain even spacing and fill in any areas where there was a little too much white space.
These cards look beautiful without anything else, but I did think it would be nice to add some lettering to a few of the cards. I tried it on a few of my (failed attempts) test cards, and I really loved it (see below)! I can’t decide what I like better, so I guess I’ll just have to find a few extra people to send cards to!
And there you have it: an easy DIY watercolor card, perfect for Mother’s Day! I hope this tutorial was helpful for you; I had a lot of fun making it! If you hand-make a card using this method, tag me on IG (@michelleamandaw) – I’d love to see your creation!
Pin This DIY Watercolor Card Tutorial
Tips and Tricks
- Don’t use colors straight out of the pan; they’ll probably be a bit too dark. I like to mix a bit of the color with a lot of water in one of the plastic wells in the top of the lid. (You can see what I mean in the very top photo in this post.)
- Colors will darken as they dry, so start light! Remember, you can always go back later and add more color! To make watercolors lighter, add more water; don’t add white.
- If you make a mistake, dampen a paper towel and blot over the spot you want to “erase”. To avoid bleeding, let the paper dry before painting over the “erased” spot.
- I found it easiest to evenly space out the flowers by starting in one spot and building out from there. I liked the look of the card with the flowers more spaced out, rather than having them all smushed together.
- You don’t need to be perfect! Little imperfections in the card will give it character, and it’s unlikely that anyone but you will really notice.
- Once you learn the basics, you can DIY watercolor cards for a number of occasions – floral cards like these would be perfect for birthdays or a shower!
Resources
I’m no watercolor expert; I’ve just been having fun learning and playing, and I think I’ve been able to make a few really lovely cards! If you’re looking for better explanations, more technical details, or further instruction, I’m going to recommend a few resources!
- This guide to watercolor basics from The Postman’s Knock is insanely helpful. It has tons of great information and product recommendations to get you started!
- This tutorial gives some great ideas on how to experiment, which will help with getting comfortable with watercolors and finding your own style!
This is awesome.
Thanks – I’m glad you enjoyed the post!